


· By Carlee Workman
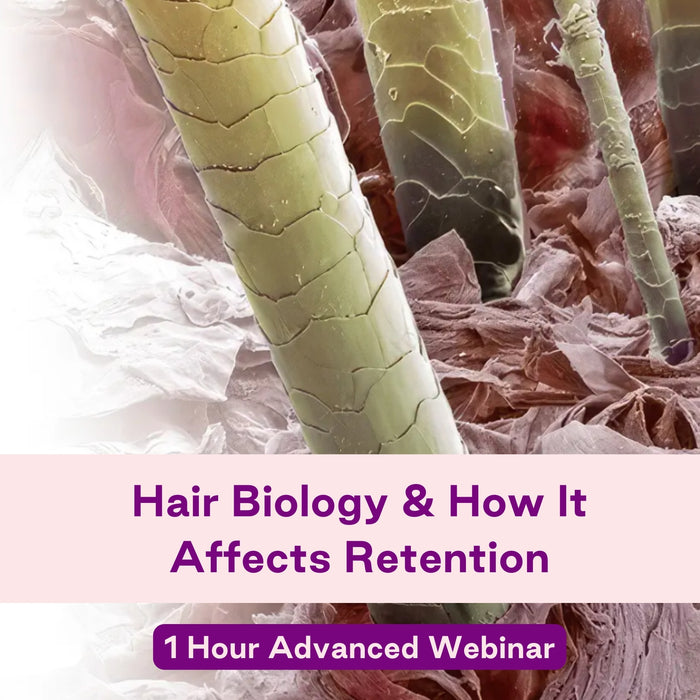
How to Solve Poor Lash Retention
We’ve all been there. You just started lashing and a client you saw a week ago comes back with only a few straggling extensions left. Did they not follow aftercare instructions? Or, did something go wrong during the set?
In our previous post, we covered how clients can make their lash extensions last longer. As we mentioned there, lash longevity depends on multiple factors. These include the natural growth cycle, aftercare, and how the extensions were applied.
The techniques used when creating the set are just as important (if not more!) as the aftercare. Lashing is a detail-oriented profession, and minute details can greatly impact the end results. If done correctly, lash extensions last an average of 2 to 3 weeks before needing a fill.
If you’re a new artist struggling with poor lash retention, or a pro looking to sharpen your skills, these retention tips will help you get the perfect bond:
1) Wash your client’s lashes
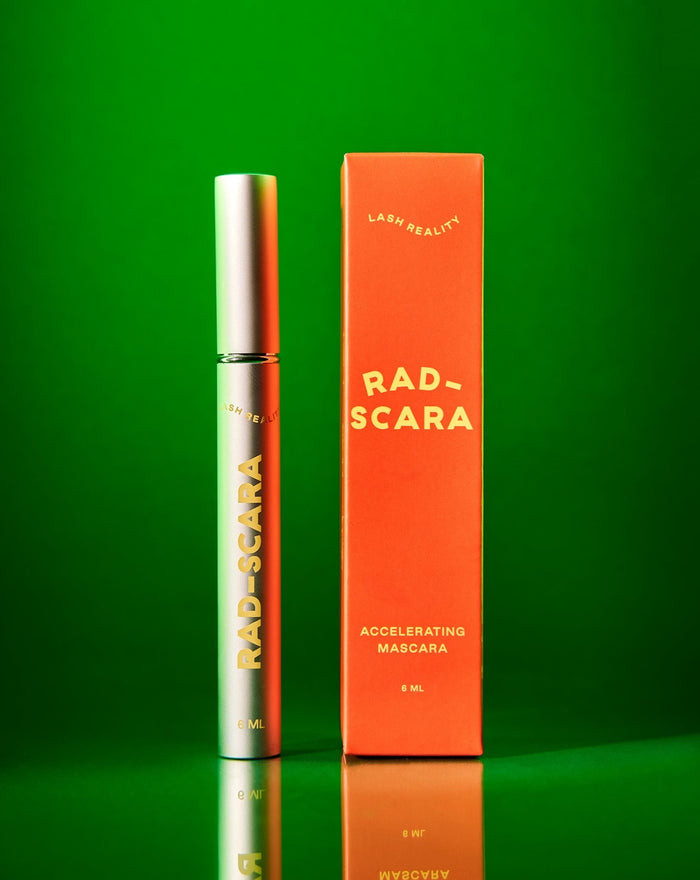
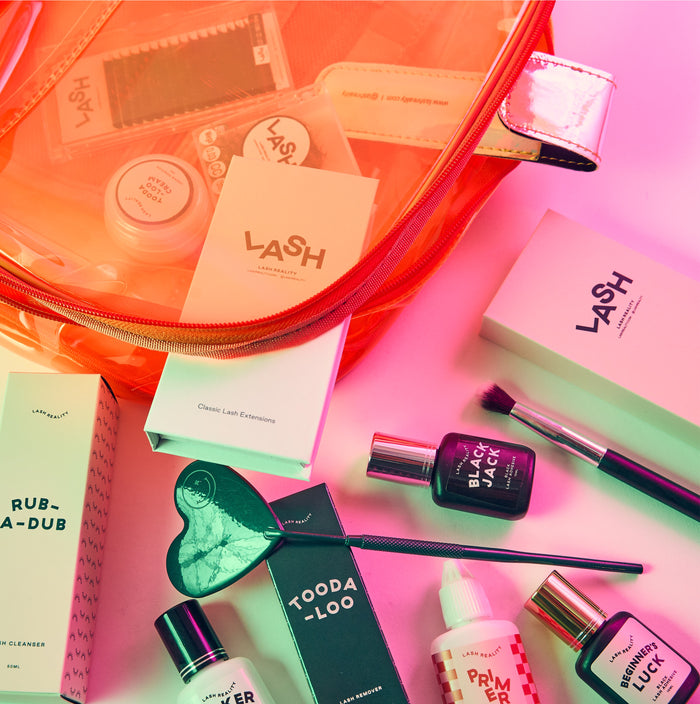
Always start with a fresh slate! Your clients should arrive to their appointment with pre-washed lashes, but artists should be rewashing them before beginning the set. Washing is vital because it removes any residual eye makeup or skincare products that interfere with retention. Lash extensions won’t stick to dirty or oily lashes, period. So spend time getting the prep work done so that your end masterpiece lasts as long as possible. We recommend using an oil-free lash cleanser (like Rub-A-Dub) and a fluffy brush to gently remove debris and oil.
2) Use a primer
Similar to how skincare preps us for longer-lasting makeup, using a primer helps with better lash retention. Eyelash extension primer removes excess oil so that the extensions can bond better to the lashes. To apply, use a microswab, and be sure to place down eye pads so it doesn’t get on your client’s skin.
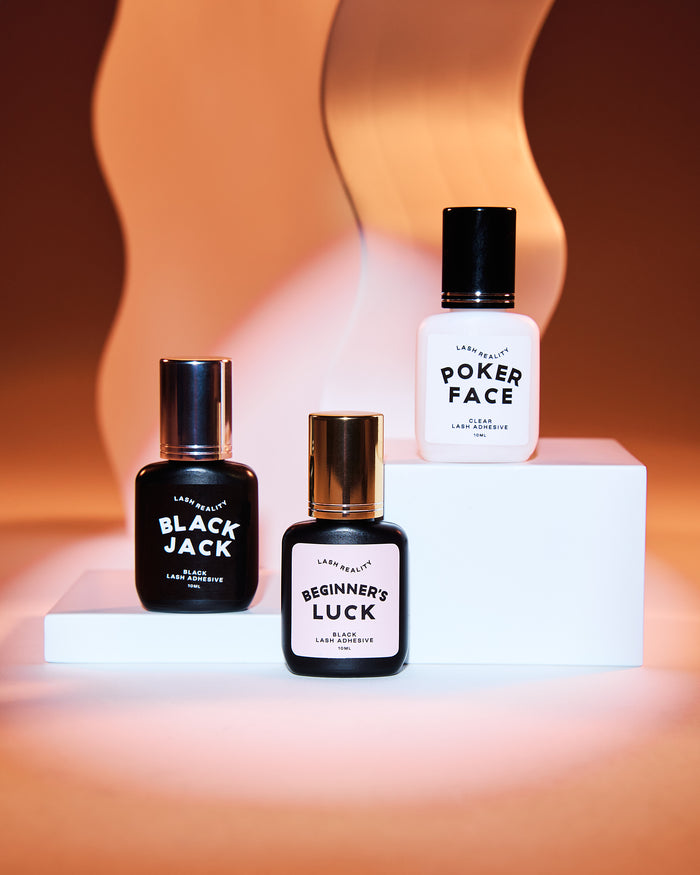
3) Find the perfect glue
Eyelash adhesive is not a one-size-fits-all. And finding the right one can be difficult – expensive too! If you have trouble with retention, it may be the glue you’re using. Different adhesives have varying viscosities and different dry times. Investing in a high-quality glue that is conducive to your technique – whether you need fast-drying or an extra couple of seconds – can significantly improve lash retention. For instance, if you’re a newer artist or prefer longer dry times, our Beginner's Luck Black Adhesive may be the perfect match.
4) Treat your adhesive right
Once you’ve found the perfect adhesive, you’ll want to treat it right. That means storing it properly so it has the longest shelf life. Be sure to keep it in a cool space and always close it properly to lock out moisture. You can also use our cotton-free adhesive wipes to keep the nozzle clean after dispensing glue!
Only open your adhesive when you are ready to use and replace every 4 to 6 weeks. Pro tip: Write the date you opened the bottle on it so you don’t forget to swap it out when it’s time.
5) Isolate the lash before dipping the extension
When lashing, every second counts. Because of this, you’ll want to have the natural lash isolated before you dip in the extension. Adhesive dries super quickly, most within 1 to 2 seconds. With that little of a time frame, it’s important you are ready to attach the lash as soon as it’s out of the glue. As soon as you dip, the glue starts to dry, meaning if you take too long to attach the lash, it develops a film over it that prevents it from fully adhering to the lash. Have the natural lash isolated and ready to go to prevent this from happening!
6) Use enough glue, but not too much
We’re often warned about how using too much glue can damage the integrity of the lash – and for good reason! Using too much glue can weigh the natural lash and damage them. However, the flip side of that is using too little glue. If you don’t have the correct amount of adhesive, the extension will not properly bond to the lash and likely lead to premature shedding.
7) Replace your glue dot often
Your adhesive should be as fresh as possible. This means swabbing out the glue dot every 15 to 20 minutes. Be mindful of how the product is performing as well. If you notice any changes in consistency or color, it’s time for a new dot!
8) Try a nebulizer
Lastly, if you want the best hold, try using a nebulizer. Our nebulizer is like the nano-mister but better! It sprays micro-droplets of water onto the lashes to help cure the glue and cement in the best possible bond. To use, hold the nebulizer about 5 to 10 inches away from the lashes and mist for 10 to 20 seconds.
Follow up with a sealer to protect the lashes from excess moisture and oil, and you’re done! With these tips, your clients will be able to get the most from their beautiful set. Be sure to teach the importance of aftercare as well!
Have any additional questions? We’re happy to help! Contact us here. We also recommend checking out our must-have products for lash extension care. You can also follow us on Facebook and Instagram to stay up-to-date on the latest Lash Reality news and products.