


· By Carlee Workman
5 Tips to Improve Your Lash Isolation Skills
We all love that moment when you can finally fluff the lashes using a clean spoolie. But have you ever combed through them only for the wand to get stuck on something?
If so, that means the lashes weren’t properly isolated!
Lash isolation is more than just satisfying brushing – it’s also vital to natural lash health. We know this can be a tricky skill to learn as a new lash artist, but trust us, every second spent learning is necessary for the long run!
If you’re looking to sharpen your skills, here are some tips to improve your lash isolation skills:
Why is lash isolation important?
First, let’s cover what lash isolation is and why it’s important. During lash sets, artists separate the individual natural lashes and apply an extension (or group of extensions, known as fans) to them. The process of separating the natural lashes from each other is known as lash isolation.
The reason why lash isolation is so important is that it is crucial for maintaining natural lash health. Like our hair, each lash goes through a growth cycle. This happens at varying rates and some lashes may be newly grown, while others are close to shedding.
When the lashes aren’t isolated, they stick together during the application process. If two (or more) lashes are glued together but at different stages of the growth cycle, they can be pulled out prematurely. This not only damages the hair follicle, but it’s also uncomfortable and possibly painful for clients!
Nobody likes clumpy and damaged lashes, so it’s best to learn how to properly isolate before working on clients. If you’re new to the skill and looking for tips on isolating lashes, try these the next time you’re practicing:
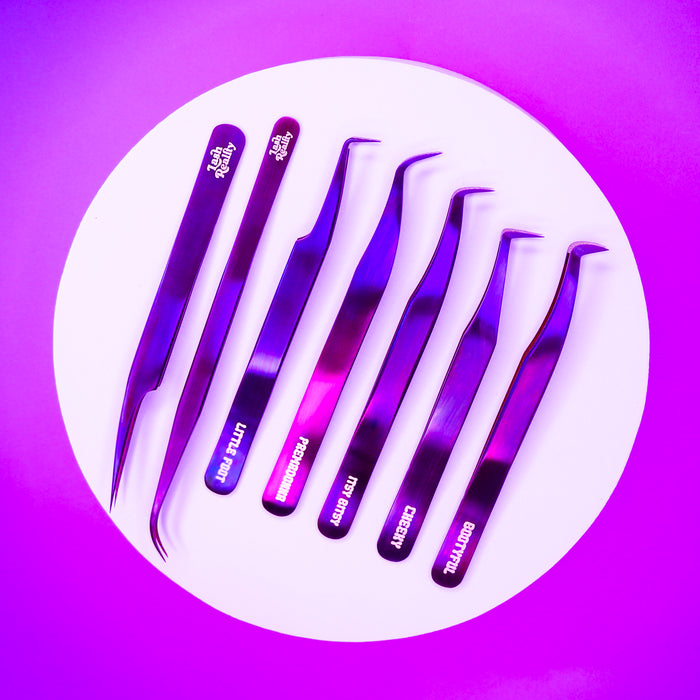
1) Use the right pair of tweezers
Tweezers are a lash artist’s most important tool. Because you are using them for upwards of 5 hours a day, it’s essential to choose the right pair for you. There are 3 main types of isolation tweezers: straight, curved, and hooked. Ultimately it’s up to your preference, but for me, the Painting the Roses Red was a major game-changer. The way it’s angled and hooked is perfect for getting into those hard-to-reach spots and it’s easy on the hands. I may be slightly biased but I truly believe these are the best lash isolation tweezers on the market! And the best part, they’re super affordable.
2) Isolate using tape
Tape can be used more than just to hold down lashes; it can also be used to pull up the eyelid. On mature clients or those with hooded eyes, there tends to be extra skin around the eye area that makes it harder to isolate the lashes. In these instances, a gentle tape can be used to pull up the skin and expose more of the bases of the lashes. My favorite for this is our Blue Sensitive Tape because it’s flexible and not too sticky. Tape can also be used to divide the lashes into sections allowing you to focus on certain areas or layer the extensions, which we’ll explain more later!
3) Don’t be afraid to use your fingers
If you find the two-handed method with tweezers to be clunky or you find using tape to be tedious, don’t be afraid to opt for fingers instead. This trick works best if the lashes are longer or the client is already wearing lash extensions. As always, lash safety and sanitization is a top priority so your hands should always be freshly washed or use gloves.
4) Try working in layers
The layered technique has become more popular in recent years, especially with the rise of lash trends such as the textured/spiky look. Though it might not look like it from afar, our natural lashes have multiple layers to them. If you’re struggling with isolation, try dividing the natural lashes into layers and working from there. This can be achieved by using tape to hold back the additional layers of lashes.
(P.S. We have masterclasses coming very soon where all of this and more will be covered in-depth! Be on the lookout for more info over on our Facebook and Instagram!)
5) Alternate eyes
Lash extensions should never be glued next to each other immediately one after the other. Though adhesive tends to dry within a few seconds, it is still susceptible to sticking to other lashes for a bit longer than that. It’s best to prevent stickies altogether and alternate between the eyes. You can also work from left to right moving in sections as you wait for the glue to fully dry. For instance, start on the left outer corner, move towards the middle of the lash, then inner and on to the next eye moving in the same direction.
At the end of the day, lash isolation –like most skills– takes time and practice. Try to gain experience as much as possible and be open to learning new techniques. With time, you’ll get the hang of it.
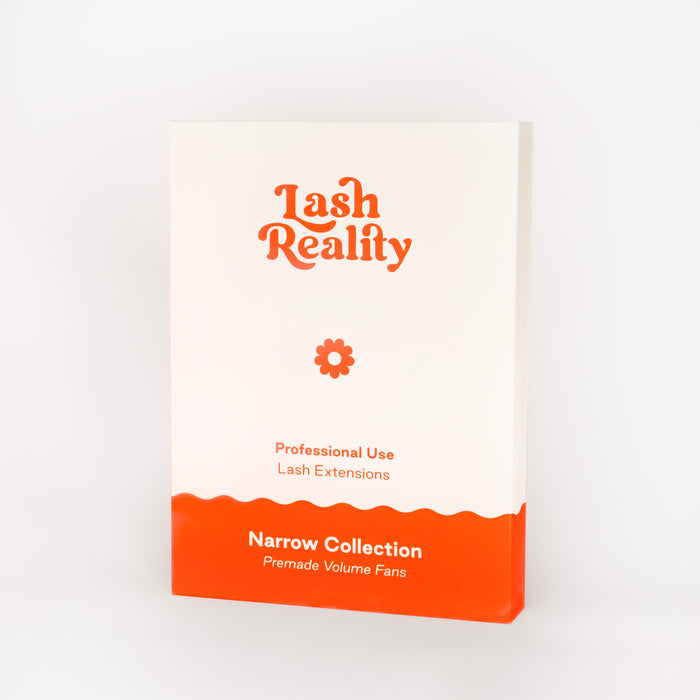
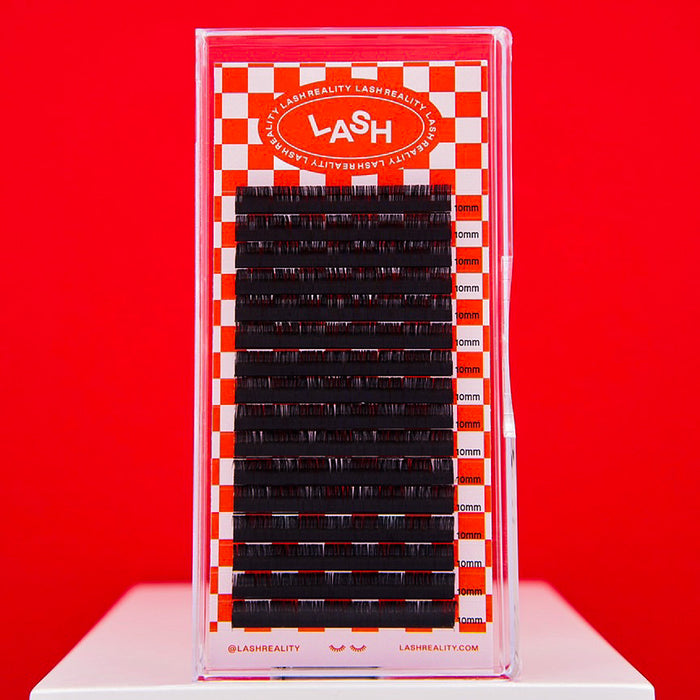
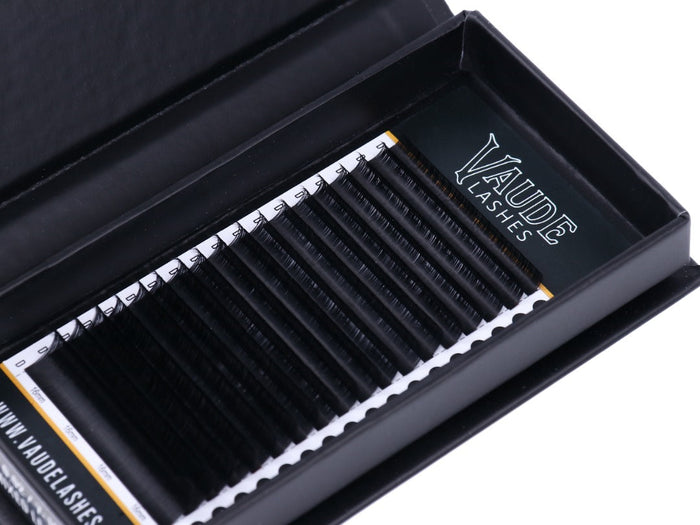
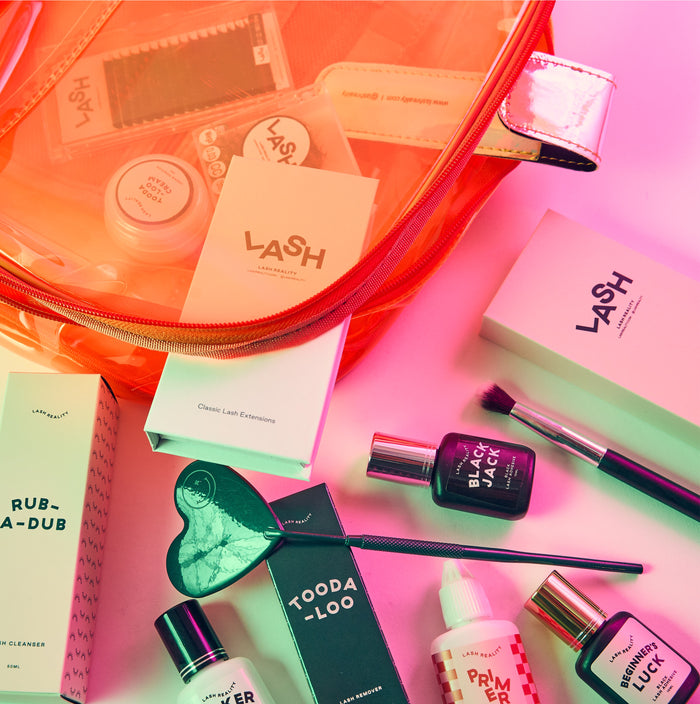
Looking for lash extension tools for isolating lashes? Check out our must-have products here and tools for lash isolation. We’d also love for you to follow us on Facebook and Instagram to stay up-to-date on the latest Lash Reality news and products.