


· By Carlee Workman
7 Ways to Use Colored Lashes in Your Sets
If you follow us on Instagram (which you totally should), you would know that we recently launched our newest challenge!
We’re asking lash artists to step into the world of imagination and create their funkiest sets inspired by Willy Wonka! Anything goes when it comes to shaping, colors, or makeup. It can be as simple or extreme as you wish. The winner of our contest will receive a $500 shopping spree. More details on our Instagram – but back to my story!
To announce The Wonka Challenge, my friends over at @TheLashRitual, @LashLuva, and I all shot an incredible photoshoot to get everyone’s creative juices flowing. We each decided to create a Wonka-inspired lash set of our own, and that’s when I realized…
I was scared to use colored lashes!
To be completely honest, it was totally out of my comfort zone. What I learned from this experience, though, is that there are tons of ways to use colored lashes in your sets, AND it’s not nearly as bad as it first seemed!
Since then, I’ve been experimenting with adding pops of color to my lash sets, and I’ve fallen in love with the results. So if you are like me and you want to experiment with rainbow lashes yourself, here are my tips for easing your way in and using colored lashes in your lash sets.

Image credit: @TheLashRitual
1) Add to the outer corners
The first (and most newbie-friendly) method for incorporating color into your lashes is by adding them to the outermost corners of the eyes. I love this technique because it can give a fun pop of color without being too overpowering.
To get the best results with this method, be sure you are applying the colored lashes on the bottom-most layer of the lash line and attach the extension to the bottom or underside of the natural lash. Doing this will ensure that the color is shown most prominently and it won’t get overshadowed by the natural lash color.

Image credit: @TheLashRitual
2) Make spikes
Spikey hybrid lash sets are all the rage right now, so it’s no surprise that the next way to add colored lashes to your sets is by making spikes.
Adding these to your sets gives an instant bold flare without too much effort needed. To make spikes, grab your favorite volume lashes and peel some off the strip, being careful not to fan them. Pro tip: adding a small amount of water or sealant on top of them beforehand can help them “stick” together.
There’s no set amount of lashes to grab in order to make the perfect spike. That will depend on you and your client’s preference, but just be sure that it’s not too heavy for their natural lash.
Lastly, you’ll want to dip it in your lash adhesive and attach it to the lashes. Layering is key when it comes to spikes! They should be attached to the top layer of lashes so they stick out and give that desired flare. Because they go on the top layer, make sure to plan ahead and don’t use a length that’s too long or short.

Image credit: @TheLashRitual
3) Layer different colors
Now, if you’re an intermediate or advanced artist, you have to try this technique! One of the most creative ways to incorporate color into your sets is by using the individual lash layers and blending or mixing different hues!
I’m a huge proponent of continued lash education, and I recently took a lash layering course myself to brush up on my skills. Let me tell you, that sh*t is hard! So if you’re still struggling with this, don’t worry. It can take months of practice to master. Thankfully, there are tons of free educational resources (just like this one!) that can help you learn more quickly. When in doubt, practice, practice, practice!

Image credit: @TheLashRitual
4) Try ombre lashes
If you love the look of different colored layers but haven’t mastered the layering technique yet, try ombre lashes! These mimic the same look but only require one set of lashes. My friends over at The Lash Ritual have a ton of ombre options, including some UV.

Image credit: @LashReality
5) Go full-color
If you’re not afraid to make a statement, try out a full-color set. This is the route I went for the Wonka Challenge, and the model’s monochromatic look inspired by the golden ticket really shined through!
The trick with full-color sets is that the natural lash color cannot be completely avoided. However, if you use bottom attachment and make sure you are getting every lash, it will cover most. The bonus is that bottom attachment leads to better retention, so your clients will be happy either way!

Image credit: @LashReality
6) Lash a gradient effect
Gradient lash sets start with one color on the inner corner and gradually shift to another color on the outer corner. The key to mastering this technique is lash mapping! It’s always best to draw on the eye pads a plan as to where each color will go. Doing this will prevent you from using too much of a shade, too little of a shade, or using incorrect lengths.

Image credit: @LashReality
7) Try brown
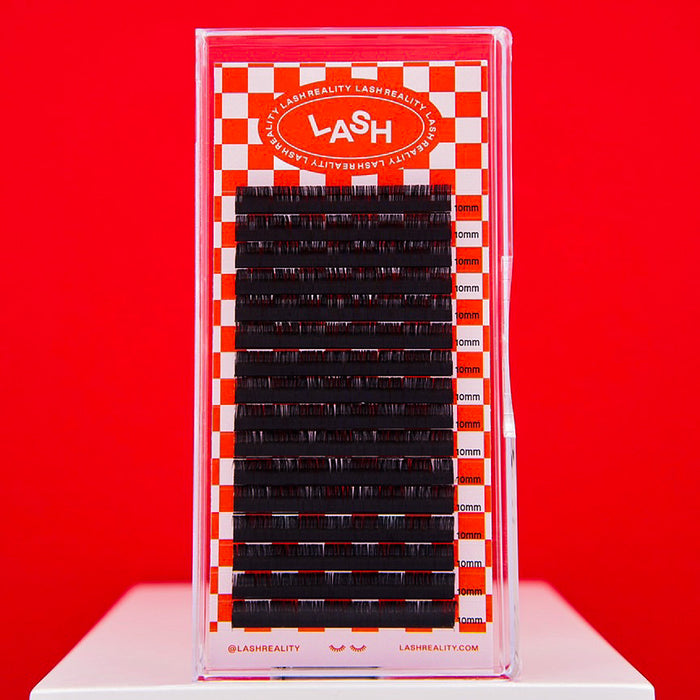
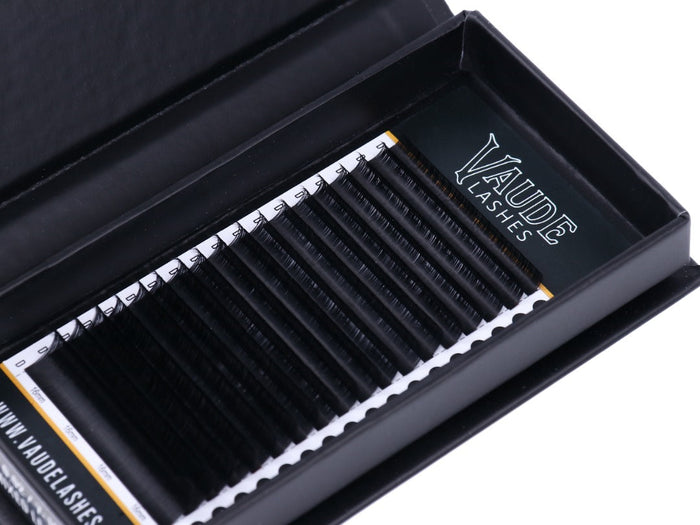
If you’re still nervous about adding some vivid colors to your sets, start by experimenting with brown. Natural-hued lashes are the latest lash trend to emerge and for good reason! They look stunning on the eyes and flatter all skin tones. Brown lashes are also the perfect choice for clients who want a softer look.
We just launched a new brown volume lash tray! You can check them out here, along with our other lash extension essentials.
Want to learn more about lash extensions? Meet us at Club Lash Reality! Our Classic & Volume Lash Trainings are coming to a city near you. We’d love to see you there! Can’t make it? Connect with us on Instagram and Facebook! You can also check out our blog for more educational lash content like this post.