


· By Carlee Workman
Lash Reality’s Guide to Eyelash Extension Adhesives
Lash adhesive is the one thing that can make or break your sets. A good lash glue can be the deciding factor on whether your client comes back in tears saying their set only lasted a week versus a 5-star review on how well the lashes stayed put.
But even more important than finding the right lash adhesive that’ll give you that extra long hold is how you use and take care of that product.
Let’s face it. You can give a beginner artist the highest-quality paints available, but if they don’t know how to properly use them, chances are they won’t be creating the next Mona Lisa.
The same principle applies to lash artists! Even if you scour the internet for the best-selling lash adhesive, if you aren’t utilizing it correctly, it won’t work the same as those reviews suggest.
However, with the right information and a little practice, you’ll be well on your way to getting the most from your lash glue. With that being said, Lash Reality is here to give you a little lashing 101 and teach you everything you need to know about eyelash extension adhesives.
Understanding The Basics
With hundreds of options to choose from, how do you know which lash adhesive works best for you? Navigating the endless array of lash products can seem overwhelming, but when you break it down to a few key differences, that will help you make the best decision for your lash kit.
Let’s start with the basics: “What is lash adhesive?”
Lash adhesives are the product responsible for bonding the extension to the natural lash. Choosing the right glue is crucial to creating your sets for two reasons. Firstly, using a low-quality product can, at best, negatively impact your retention and in the worst of cases, cause damage to the natural lash. Secondly, finding a product that is suited to your skillsets and preferences can make your job easier as well as enhance the quality of your services.
So what makes up this product that's oh-so-important to your sets?
The main ingredients in nearly all professional lash adhesives are cyanoacrylates. This group of fast-drying chemicals is what’s responsible for making lash adhesive long-lasting. Because of this, it cannot be taken out of the glue without severely impacting the retention. So no matter where you’re getting your lash glue, it almost always will have a form of cyanoacrylate in it.
You might be asking yourself, “But if all lash glues are made from the same main ingredient, why are there so many different options on the market?”
And it’s a great question! There are plenty of formulations available for lash artists to choose from based on dry time, viscosity, retention, and more. So, let’s dive into the differences between these so you can determine which is best for you!
Color
Lash adhesive mainly comes in two different hues: clear or carbon black. Most artists prefer black glue because it outlines and defines the eye, giving it an eyeliner-esque look. However, clear glues can come in handy for brown lash sets, colored lashes, or for clients who develop a sensitivity to carbon black.
Dry time
You’ll often hear two words used when discussing lash adhesive: drying and curing.
Drying is the initial phase of attaching the extension to the natural lash when the adhesive is no longer wet. Glues are measured in their dry time, or how fast the adhesive develops a film on the outside that is no longer sticky. On the other hand, curing is when the entire adhesion process is complete meaning the glue is completely dry inside and out.
There are both slow-drying and fast-drying varieties of eyelash extension adhesive, and each come with its own benefits.
Slow-drying: As the name implies, slow-drying adhesives take longer to set. On average, these glues take about 2 to 5 seconds to dry. Now, I know this doesn’t sound like a long time, but in the world of lashing, it is! Slow-drying lash adhesives are a great choice for beginners because they grant more forgiveness and time to move the extension around until you find the perfect placement.
Fast-drying: Fast-drying adhesives take anywhere from 0.5 seconds to 2 seconds to dry. Experienced artists favor fast-drying glues because it allows them to complete the sets quicker.
Ultimately though, your best choice of glue will come down to preference and skill level. It’s also important to consider that dry time can be impacted depending on the temperature and humidity of your studio – which we’ll cover shortly.
Viscosity
Another element that differentiates lash adhesives is their viscosities or thickness. The thinner the adhesive, the faster it will set. Similarly, thinner adhesives weigh less, meaning if you are a volume fan lover, it’ll be best to use a thin glue so as not to weigh your client’s lashes down.
That being said, lash adhesive should never be goopy. If it is, that can be an indication that it was not properly shaken beforehand or that the temperature and humidity of the studio are off.
Temperature & humidity
Lashing is a delicate process! Even something as simple as the temperature of your lash studio can impact your final results. For this reason, all lash adhesives come with a suggested temperature and humidity range for optimal results.
Let’s start with humidity. Lash adhesive is cured with moisture, so humidity plays a large role in determining how quickly that happens. Too much humidity, and the glue will harden too quickly or simply stop working altogether. On the other hand, too little humidity and the glue will not dry quick enough and will slow you down or cause dreaded “stickies,” – lashes sticking to one another.
Fortunately, this is a simple fix. Always keep a temperature and humidity gauge in your studio. For desert climates, buy a humidifier and for wet climates, buy a dehumidifier.
Shelf life & storage
Since you’ll be using it every set, you’ll go through a new bottle of lash adhesive every few weeks. On top of that, lash adhesive has a fairly short shelf life, so replacing it often is optimal for best results.
Most lash glues need to be replaced every 4 to 6 weeks. After this timeframe, the glue changes in consistency and performance, lessening your retention and rendering it useless.
Because of how often you’ll need to reorder glue, many artists choose to keep their lash adhesive on a monthly subscription. When stored in a dry and cool place, an unopened glue can last up to 6 months.
A good rule of thumb is to always check the product’s packaging. While it is not required by U.S. law, most cosmetic manufacturers include a shelf life date on the product box. We cover more about keeping up with lash inventory here.
Curing
As mentioned earlier, drying is the first stage of adhering the lashes, and curing is the final step. When you’re done with your set, it’s always important to make sure the lashes are fully cured in order to get the best retention.
Lash adhesive cures with moisture, so to lock them in place, it is recommended to use a nebulizer over the lashes. Nebulizers spray an incredibly fine mist of water that penetrates the adhesive and allows it to fully cure. Personally, I prefer a nebulizer over a nano-mister because the mist is even finer with the nebulizer.
Spraying too much water onto the lashes can cause something called shock polymerization, which causes the glue to turn white. However, if your lashes aren’t cured fully, they will shed faster. You can avoid this by using something like the nebulizer to get the perfect cure each time.
How to use lash adhesive
Now that we covered the basics, let’s talk about how to use lash adhesive. Here are my favorite pro tips for getting the most from your glue:
- Always shake the bottle beforehand. The formula needs to be mixed to work properly. It’s recommended to shake your adhesive for 2 minutes before use. This is such an important step that some artists even buy a mixer that will automate the process and shake the glue for them so they can use that time to prep other tools.
- Use a glue tray. Glue trays are specifically designed with a little divot that keeps less glue exposed to the air. As soon as adhesive hits the air, it beings to cure. That means, you’ll need to replace your glue dot often to avoid it changing consistency. With glue trays, the divot buys you more time between changes, so you can spend more time lashing and finish your sets quicker.
- Change the glue dot often. If you notice the glue starts to get stringy or thicker than usual, change the dot. Keeping a fresh dot will ensure you get the best performance from your adhesive.
- Burp the bottle. You want to avoid getting air into the bottle as much as possible. However, every time you squeeze a drop of glue, air can get into the packaging, resulting in reduced shelf life. To avoid these complications, after you dispense the drop, tap it a little until the air bubble comes out. This is referred to as “burping the bottle” in the lash world.
- Never clean with cotton. Keeping your lash adhesive bottle clean will help extend the shelf life. With that being said, NEVER clean it with a cotton pad or tissue paper. The main ingredient in lash glue reacts with cotton, creating smoke and it can even start a fire. Most lash suppliers sell adhesive wipes specifically made for glue bottles to avoid this.
Other FAQS
How do I find the right lash adhesive?
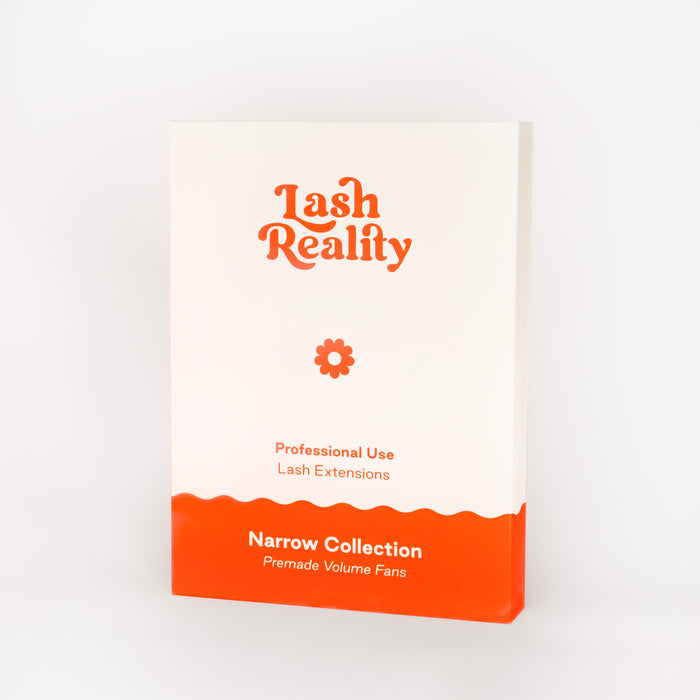
Finding the right lash adhesive comes down to two things: finding a high-quality lash retailer and understanding your preferences. At Lash Reality, we use the highest-quality ingredients possible to make our products. Meet our three best-selling glues:
-
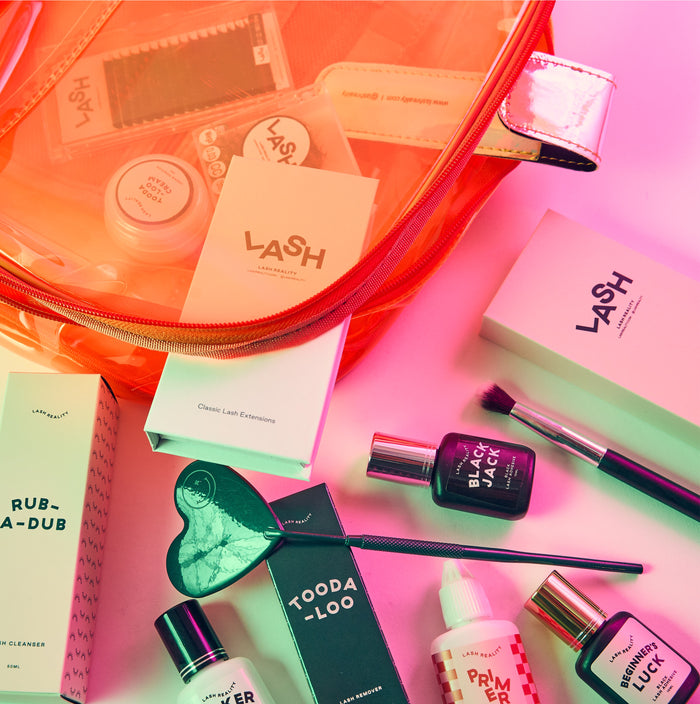
Beginner’s Luck: Beginner’s Luck is a black, slow-drying adhesive with an extra strong hold. It dries in 2.5 seconds and gives 6-7 week retention. Despite the name, Beginner’s Luck can be used for artists of any experience level! We named it that because we designed it for first-time premade users. Today, we use the adhesive in our training courses and we have a beloved following who repurchase monthly!
- Black Jack: Black Jack is our best-selling black lash adhesive. Compared to Beginner’s Luck, it is a bit thinner and dries quicker (1.5 second dry time). Like our other glues, it gives a 6-7 week hold.
- Poker Face: Poker Face is our clear adhesive and our fastest-drying one. It dries in about 0.5 seconds and is amazing for colored lashes!
Have any more questions? We’re happy to help! Contact us here or message us on Instagram and Facebook! We also recommended checking out our blog for more educational lash content like this post.